How to Price Secondhand Clothing on Vinted
A repeatable method for pricing used clothes on Vinted: cost basis, comparables, condition tiers, negotiation room and when to cut the price.

Pricing is the single decision that controls everything else in a resale catalogue: how fast an item moves, how much cash comes back, and whether the work you put into photographing and listing it pays for itself. Most sellers price by feel, then spend months wondering why some items sit while others sell the same day.
This guide is the method we use: a price range derived from real comparables, adjusted for condition and brand velocity, then managed over time with a markdown schedule instead of guesswork.
Start from a range, not a number
A single price is a guess. A range tells you what the market will bear and where inside that band you should sit.
Finding comparables that actually match
Search for the item on Vinted and filter by sold or recently active listings. What matters is not the asking price of one optimistic seller — it is the cluster of prices where items disappear from the feed.
A comparable is useful when it matches on four axes:
- Brand and line — a diffusion line is not the main line, even with the same label on the collar
- Garment type — a wool coat and a cotton overshirt do not share a price band
- Condition — new with tags, excellent, good, worn
- Size — common sizes move faster and can carry a higher price; extreme sizes sit longer and usually need a discount to move at all
Collect five to eight of these. Ignore the highest and the lowest — they are outliers, either an unrealistic seller or someone dumping stock. The middle of what remains is your band.
Reading the band
If comparable items are asking 22–30 € and the ones at 22 € are the ones that sell, your realistic range is 18–26 €. Not 30 €, because you would be the most expensive item in a category where cheaper alternatives exist, and not 15 €, because you are leaving money on the table.
Adjust for condition and velocity
The band gives you the market. Condition and brand velocity decide where you land inside it.
Condition tiers
Use four tiers and be strict about which one an item belongs to:
- New with tags — unworn, original tags attached. Top of the band, or slightly above if the item is discontinued.
- Excellent — worn once or twice, no visible wear. Upper third.
- Good — worn regularly, minor signs of use, no defects. Middle.
- Fair — visible wear, small flaws disclosed. Bottom third.
The most common pricing error is calling something "excellent" because you like it. Buyers compare the photo to the description. A discrepancy is not a negotiation tactic — it is a return.
Brand velocity
Some brands sell within hours at almost any reasonable price. Others need a discount to move at all. Track this yourself rather than trusting a list: after twenty listings you will know which brands in your inventory convert quickly.
A practical rule: if a brand has sold for you three times in under a week, you can price at the top of the band. If it has never sold, price at the bottom and treat it as a learning listing.
Build in negotiation room — deliberately
Vinted buyers negotiate. That is part of the platform's culture, not an insult.
Price 10–15 % above the lowest number you would genuinely accept. If your floor is 20 €, list at 23 €. When an offer of 20 € arrives, you can accept it without resentment, and the buyer feels they won.
What you should not do is inflate by 40 % and then refuse every offer. Buyers who see an item listed well above every comparable do not negotiate — they scroll past.
Deciding your floor before you list
Write the floor down when you create the listing, not when an offer arrives. The number you invent mid-conversation is always the wrong one: too low if you are impatient, too high if you are attached.
Your floor should cover:
- What you paid for the item (or its opportunity cost if it came from your own wardrobe)
- Packaging and any platform fees that apply to you
- A share of the time you spent sourcing, cleaning, photographing and listing
If the floor is above what the market will pay, the item is not a pricing problem — it is a sourcing problem. Sell it at the market price, record the loss, and stop buying that category.
Manage the price over time
A listing price is not a permanent decision. It is a starting position with a schedule attached.
A markdown cadence that works
Set the schedule when you list, so you never have to make a fresh emotional decision later:
- Weeks 1–2 — full price, no discount. Fresh listings get visibility; discounting now wastes it.
- Week 3 — drop 10 %. Still above your floor.
- Week 6 — drop to the floor.
- Week 10 — relist at the original price with new photos, or bundle it.
Relisting matters because visibility decays. An item that has been live for two months appears far down the feed; a relist puts it back in front of buyers at no cost beyond a few minutes. Visted's smart relisting automates exactly this cadence, including a configurable minimum price so the automation can never push an item below your floor.
When to stop discounting and cut the item
If an item has been at your floor for three weeks with steady views and no offers, the price is not the problem — the photos, the title, or the demand are. Pull it, fix the listing, and try once more. If the second attempt fails, bundle it with similar items or donate it. Storage costs more than the item is worth.
Track what actually converts
The numbers that matter are not total sales. They are:
- Sell-through rate by category — what fraction of listed items in a category sold within 30 days
- Average days to sale — rising numbers mean prices are drifting too high
- Discount depth at sale — how far below list price items actually sell
Visted's analytics records price history per item, so you can see whether your discounts are working or whether you are simply lowering prices on items nobody wants. Without that record, every pricing decision is a memory.
A worked example
A mid-range wool blend coat, bought secondhand for 12 €, in good condition with one small mark on the lining that you will photograph and disclose.
Comparables: five similar coats asking 25–38 €, with the ones at 25–28 € selling. Condition is good, brand is slow-moving. Band: 25–32 €. Position: middle, so 28 €. Floor: 22 € (covers cost, packaging and a fair share of time). List at 31 € to leave room for offers.
Week 3 with no sale: drop to 28 €. Week 6: drop to 24 €. Week 9: relist at 31 € with a photo of the coat worn, which the first listing lacked.
That is the whole method: market band, condition position, negotiation room, written schedule. It takes about four minutes per item once you have done it a few dozen times, and it replaces the guesswork that makes resale feel unpredictable.
If you want the schedule handled for you, the pricing plans page lists which plans include automated relisting and how many items each supports.
Found this useful? Run the whole system
Visted automates relisting, inventory tracking and offer replies, so you can spend your time sourcing and photographing instead.
Keep reading
Browse all articles
From Hobby to Business: Scaling a Vinted Resale Operation
What actually changes when reselling stops being a side project: margins, time budgeting, sourcing discipline, pricing tiers and when to automate.

Managing Hundreds of Listings on Vinted Without Losing Track
The operating system for a large Vinted catalogue: item codes, physical locations, listing states and the weekly routine that keeps them in sync.
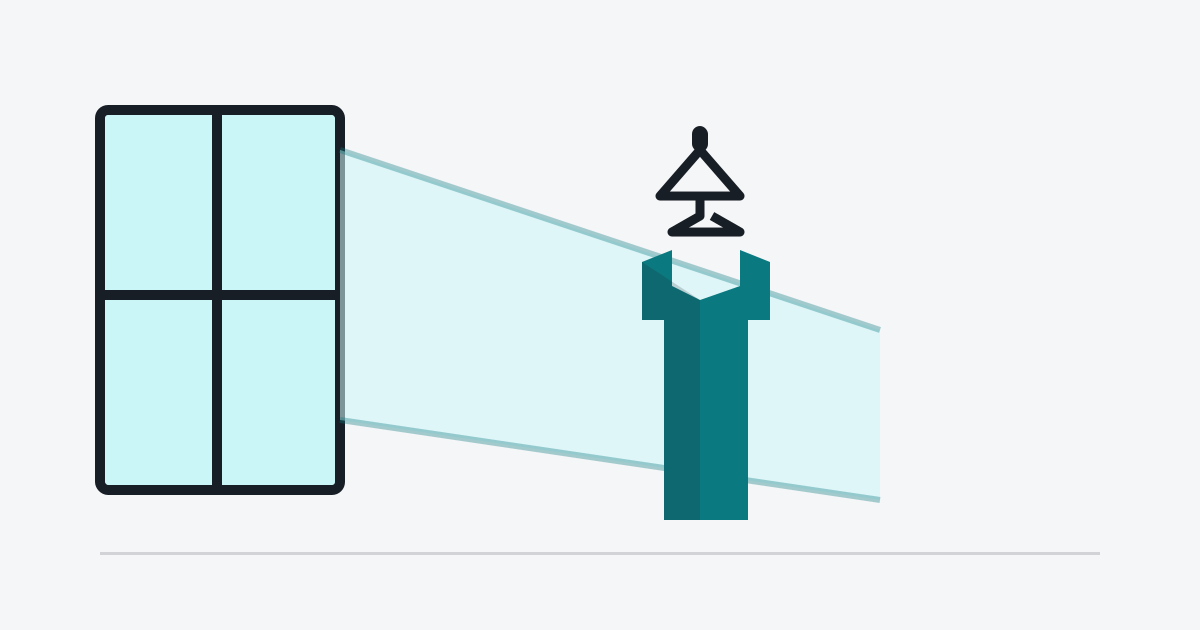
Photographing Clothes for Vinted Without a Studio
A practical lighting and framing setup for Vinted photos using a phone, a window and a plain wall — plus the mistakes that cost the most sales.